There are two types of receipt documents in BUY.IU: quantity and cost. Generally, quantity receipts are used with one-time orders. Cost receipts are used with recurring orders, including Contract & Grant subawards and capital asset purchases.
Click a button below to jump to instructions for that topic.
Quantity Receipt
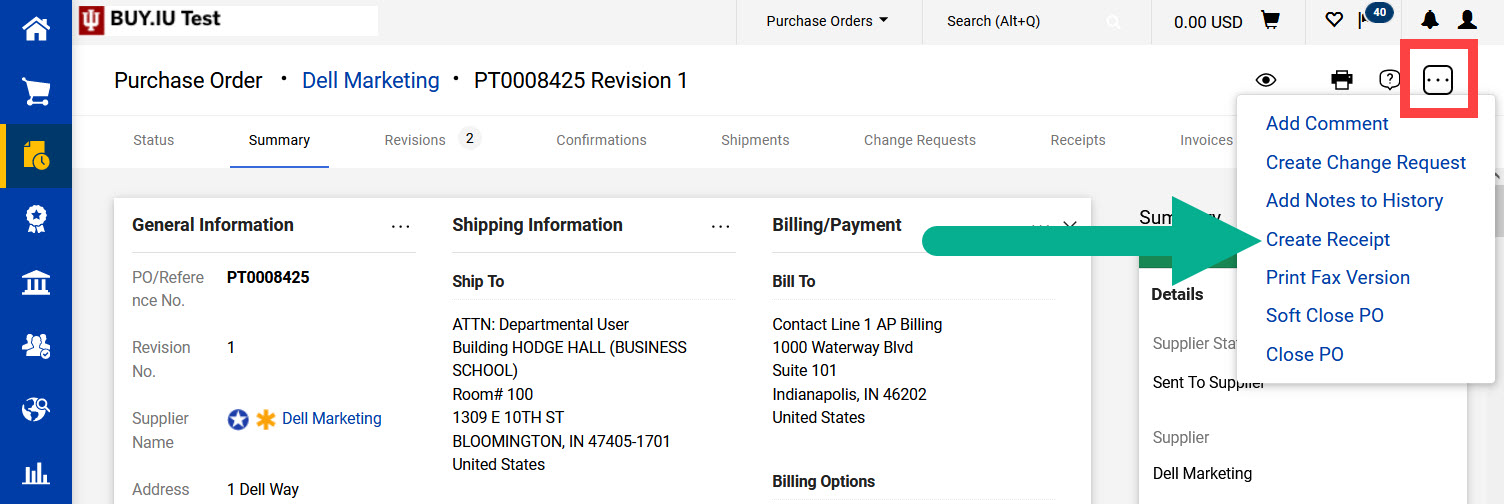
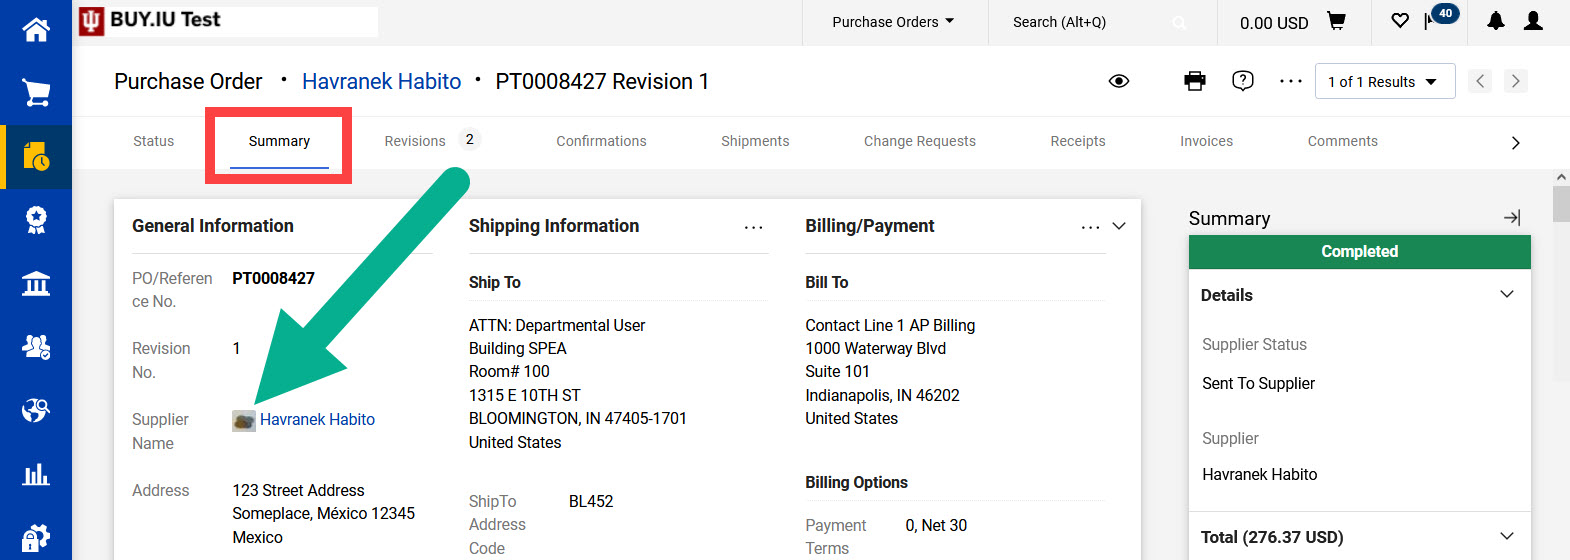
Locate the purchase order (PO) associated with the goods received. On the PO, click the three-dot menu in the upper right-hand corner of the document and select Create Receipt from the drop-down menu.
A pop-up window opens which displays PO lines. Uncheck the PO lines that do not need a receipt at this time.
In this example, we are documenting the receipt of 5 laptops. We’ve unchecked PO line 2, which represents laptop sleeves, because we are not documenting the receipt of any laptop sleeves.
Click Create Quantity Receipt.
On the receipt document, update the Receipt Name to describe the goods that were received. This field allows 100 characters and is searchable.
If needed, update the Receipt Date so it reflects the date goods were received. Type the date in the field or click the calendar icon to search for the appropriate date.
In this example, we entered “5 Inspiron laptops” in the Receipt Name field and updated the Receipt Date field to 10/30/2023, the date the laptops were delivered.
The remaining fields of the receipt are optional but may be required by your department. If your department requires supporting documentation, such as a packing slip, attach it to the receipt by clicking Add next to Attachments.
Scroll down the page to the PO Lines section of the receipt.
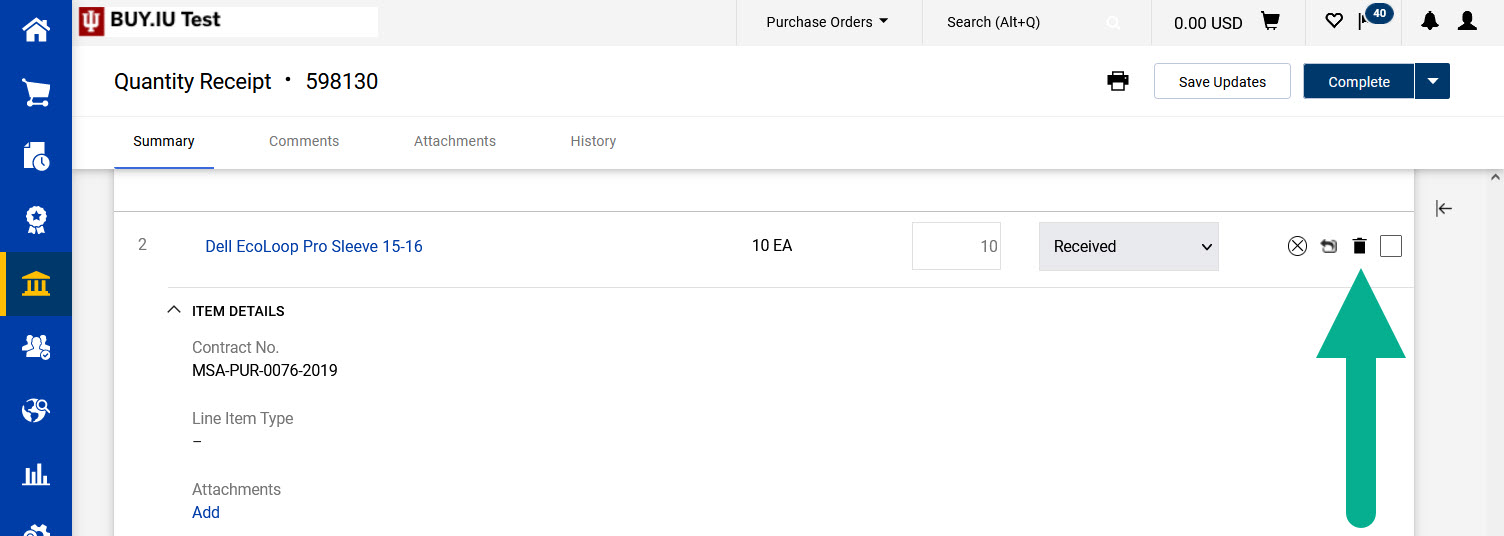
Enter the number of items that were received in the Quantity field of each PO line.
In this example, we received 5 laptops so we will enter “5” in the Quantity field of PO line 1.
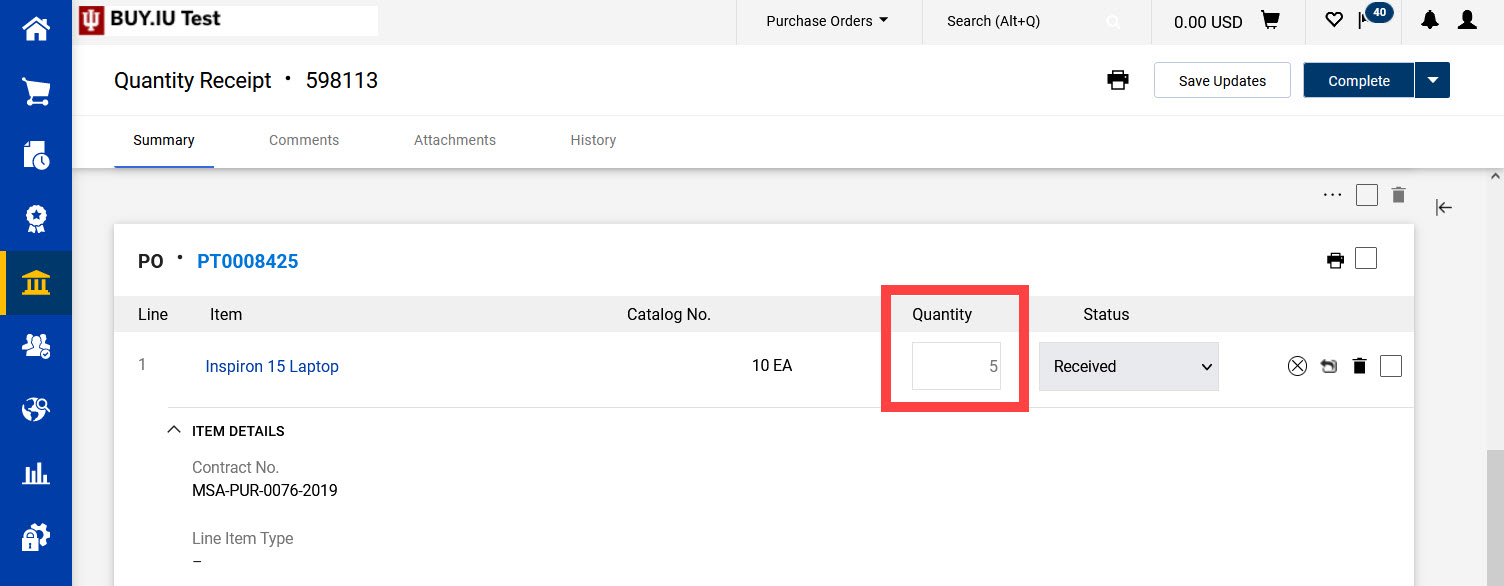
Document all received items. Review the information entered and click the trash can icon next to any PO lines that were included but do not require a receipt at this time.
For example, if we had included PO line 2, which represents laptop sleeves, we would delete it since we have not received any laptop sleeves.
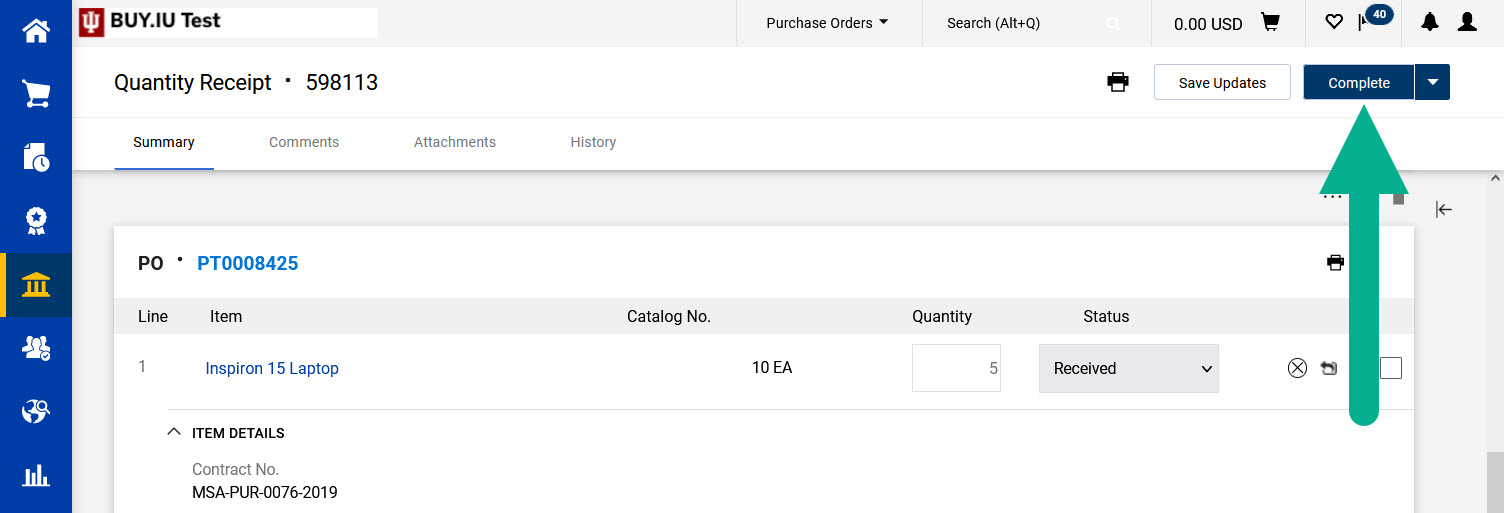
Click Complete in the upper right-hand corner to save the receipt document.
BUY.IU displays a confirmation screen like the one pictured below. Congratulations, you’ve logged a receipt!
Cost Receipt
Locate the purchase order (PO) associated with the goods or services received or performed. On the PO, click the three-dot menu in the upper right-hand corner of the document and select Create Receipt from the drop-down menu.
A pop-up window opens which displays PO lines. Uncheck the PO lines that do not need a receipt at this time.
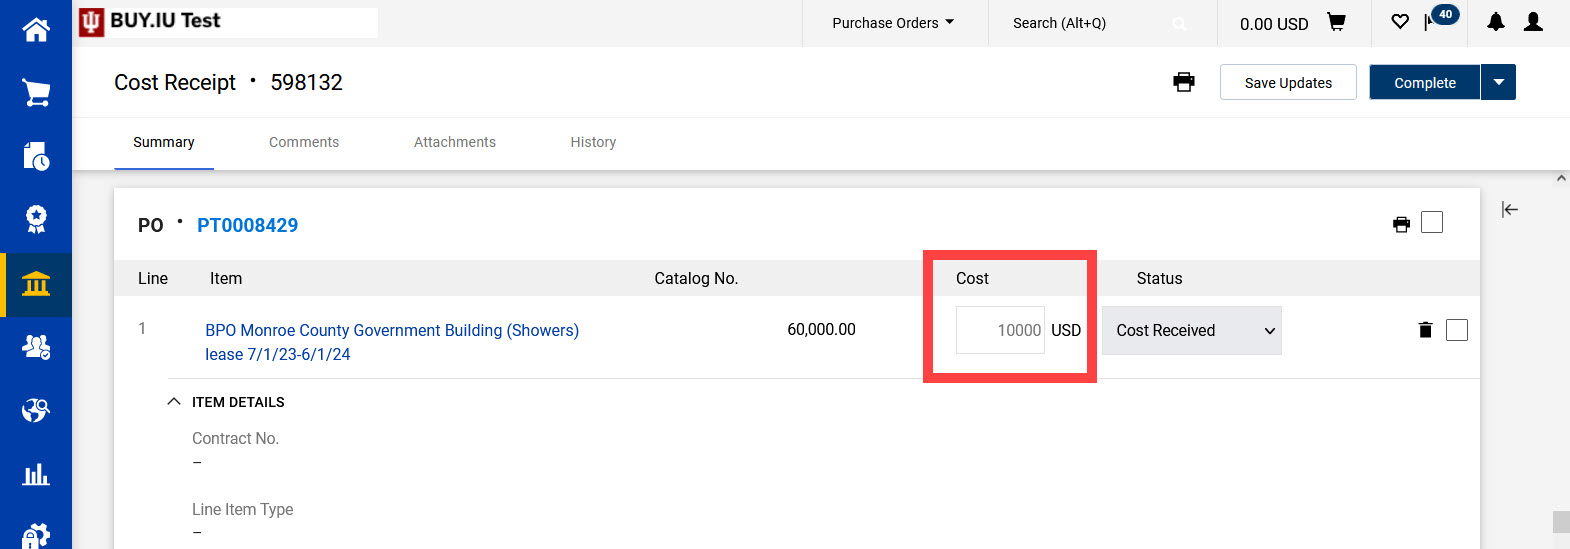
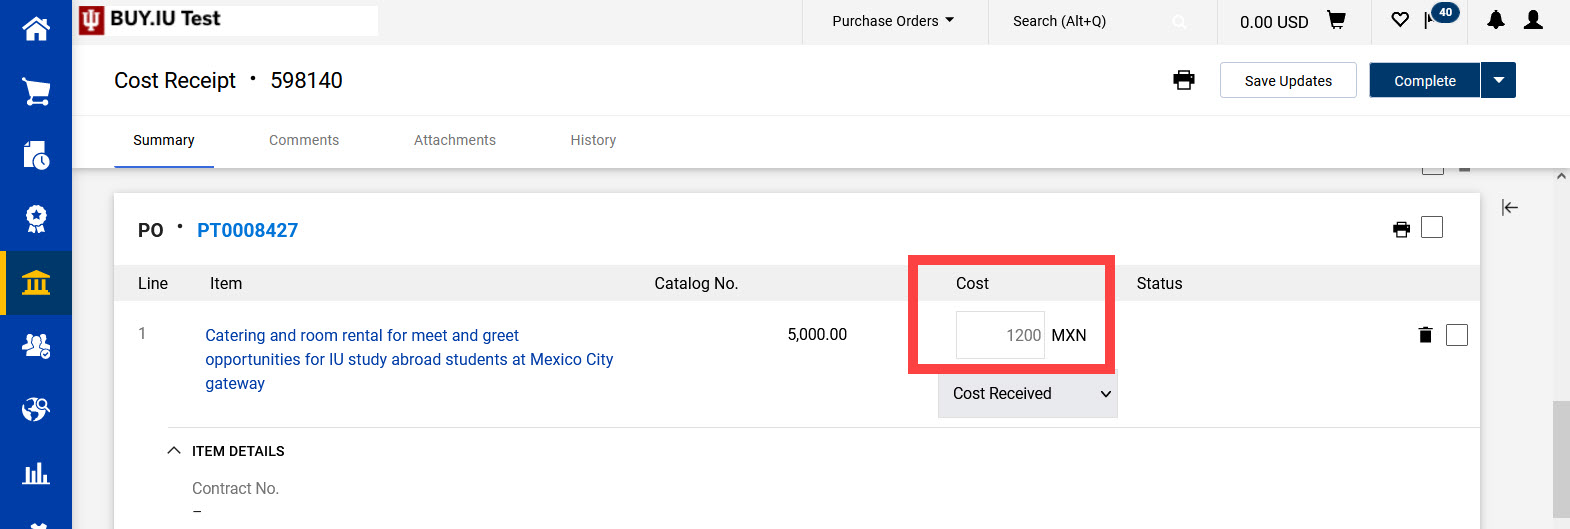
In this example, we are logging a receipt to confirm that two months’ rent should be paid. This PO only has one line, so we will keep PO line 1 checked.
Click Create Cost Receipt.
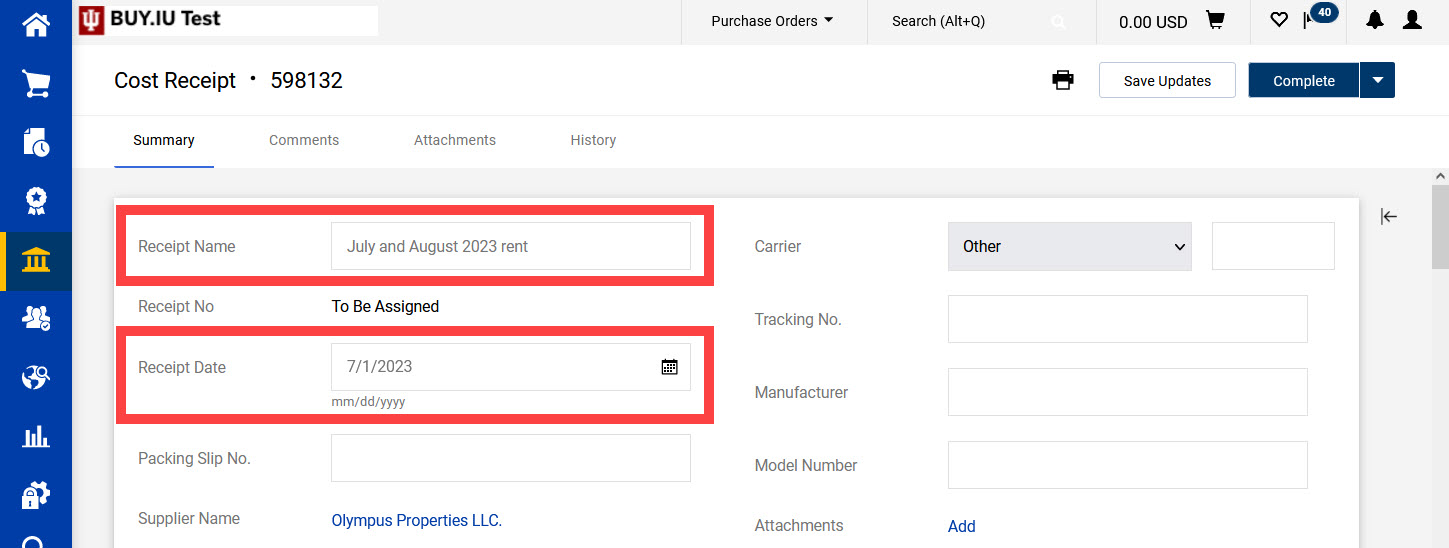
On the receipt document, update the Receipt Name to describe the goods or services being documented. This field allows 100 characters and is searchable.
If needed, update the Receipt Date so it reflects the date goods were received or services were performed. Type the date in the field or click the calendar icon to search for the appropriate date.
In this example, we entered “July and August 2023 rent” in the Receipt Name field and updated the Receipt Date field to 7/1/2023. This date reflects the due date of the first rent payment we are documenting.
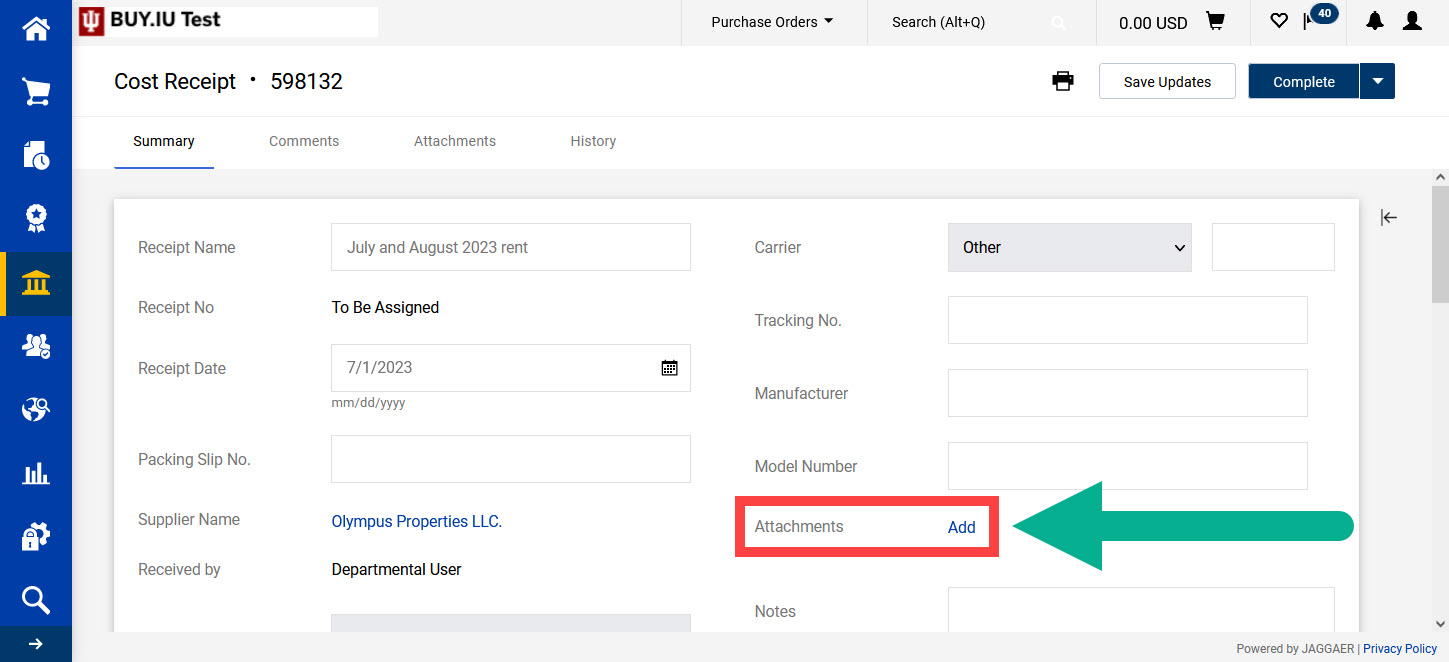
The remaining fields of the receipt are optional but may be required by your department. If your department requires supporting documentation, such as a packing slip or copy of the supplier invoice, attach it to the receipt by clicking Add next to Attachments.


